This time a report about a bus I build in commission for a MCC enthousiast. He wanted two buses, this is the first. I have writen about this one before. This is the bus with the very difficult motor from SolExpert.
The original chassis was a Rietze “MAN NL Stadtwerke Verkehr”. This is a static model. I had to make room for the motor, add batteries and a steering mechanism. Watch and learn!
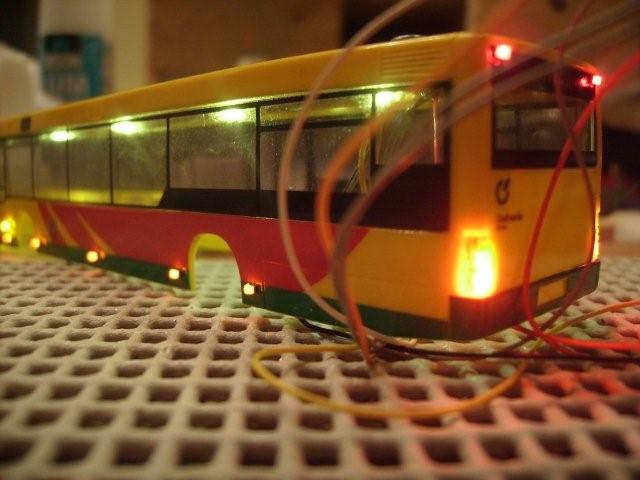
First action is to take out the plastic covers and moke some more room for the LED’s. The covers are glued back in there original places before placing the LED’s behind them.
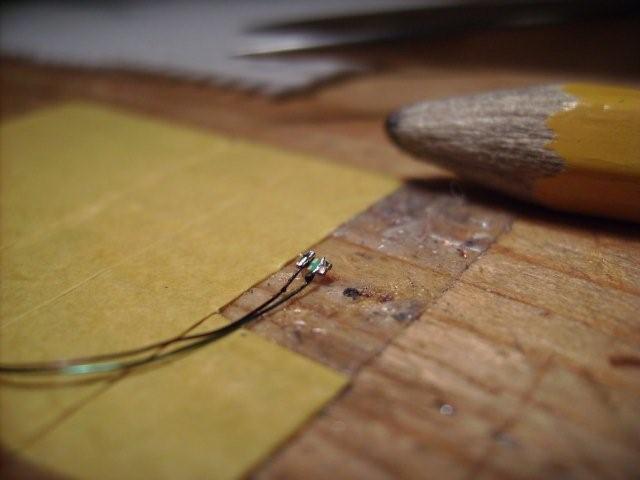
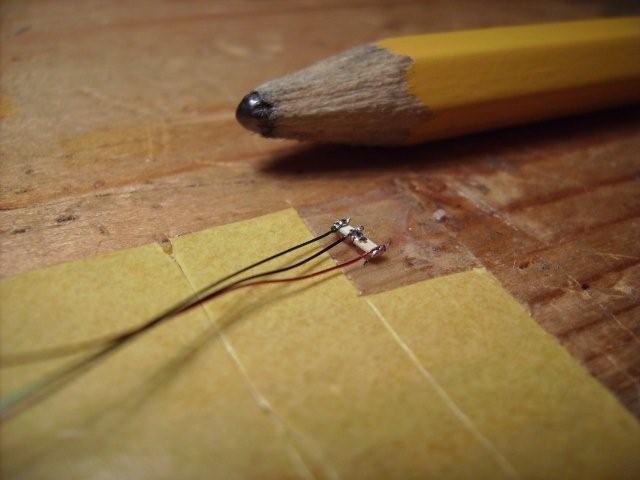
remember how smal the 0603 LED’s are? This is a orange one for the side of the bus. I had to make 10 of them.
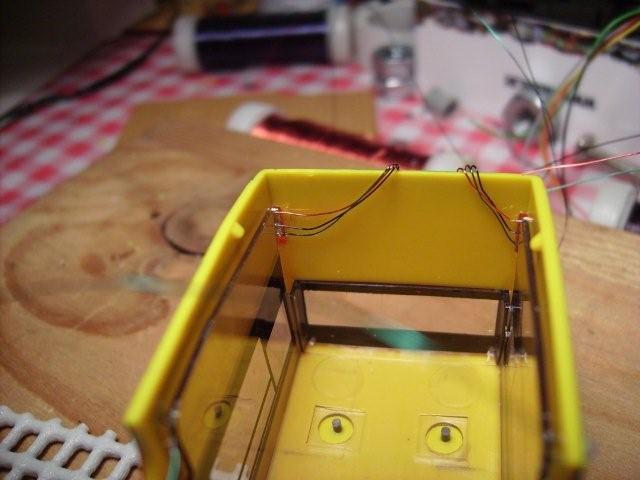
The tail lights are combined with the indicator. This saves one wire. In the middle is the common kathode.
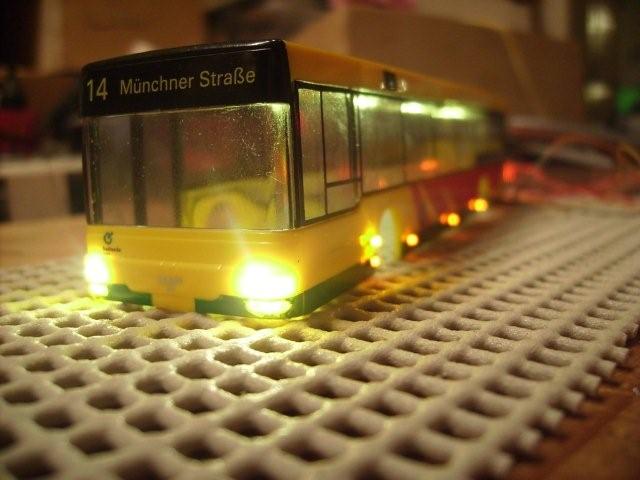
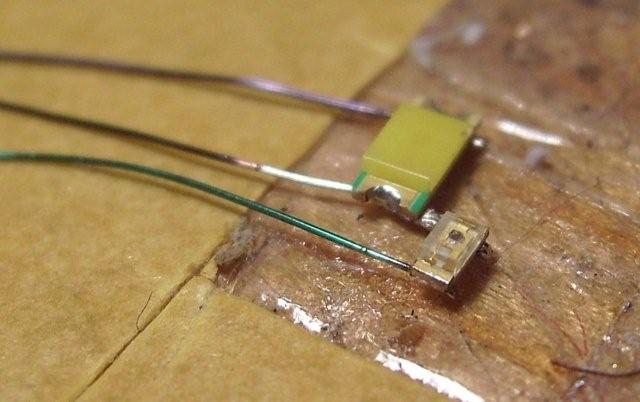
Same is done for the head lights and indicators. The “big” LED is a warm white 1206 LED. They are expensive but have a very nice colour.
This time I drilled a small hole in the side and glued the LED’s on the outside. This is not very hard to do. A disadvantage is that the LED’s are very vulnerable. On a other bus I glued them on the inside. Much nicer!
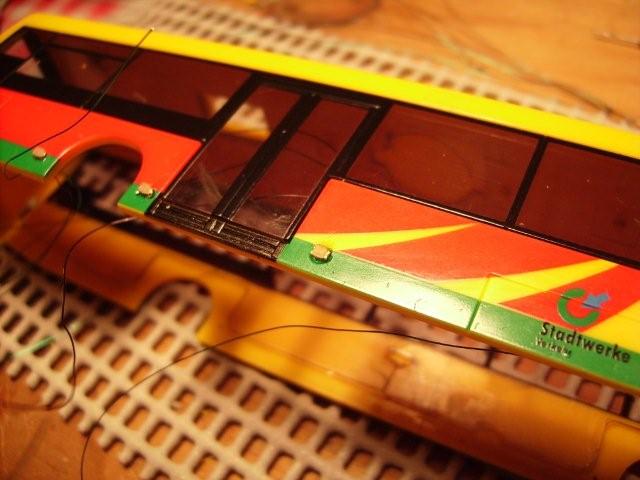
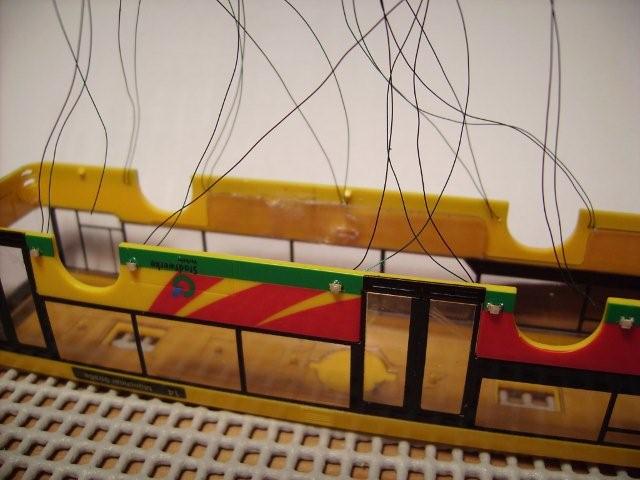
Ok, it’s getting messy already.
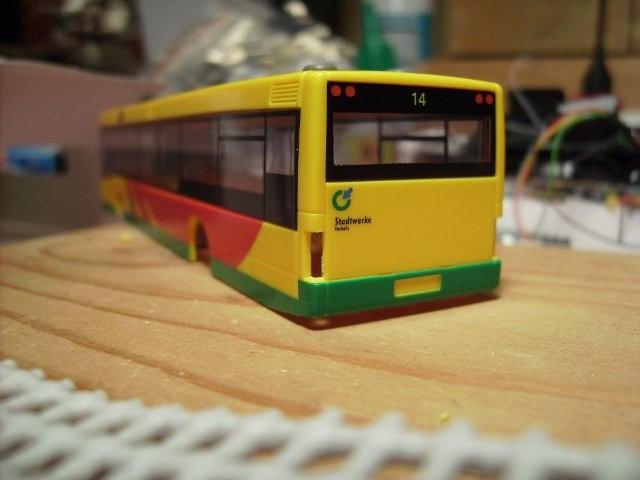
Tail lights fit nicely in the prepared cavity.
As do the head lights.
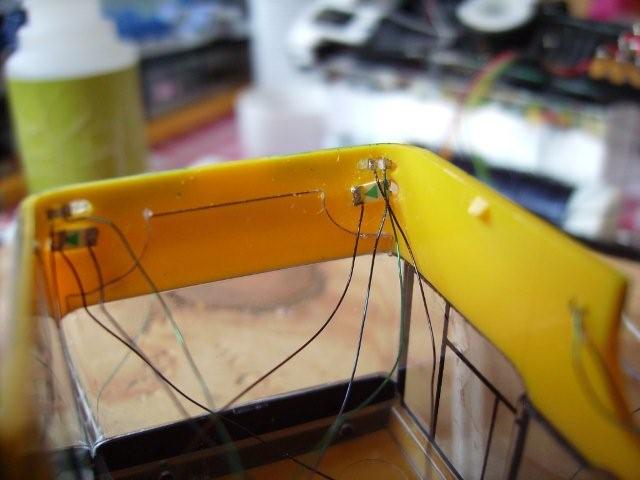
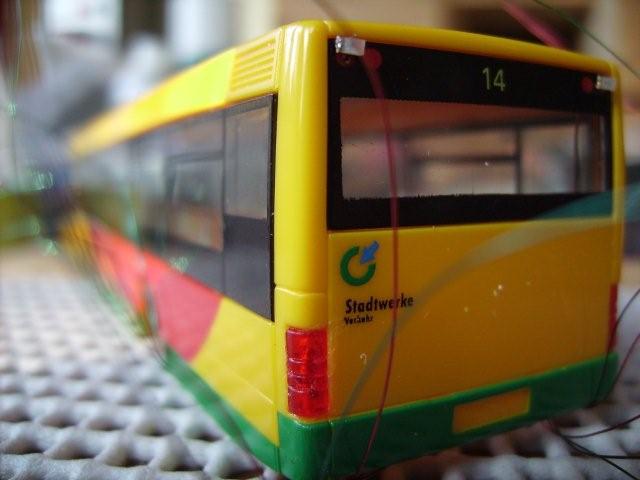
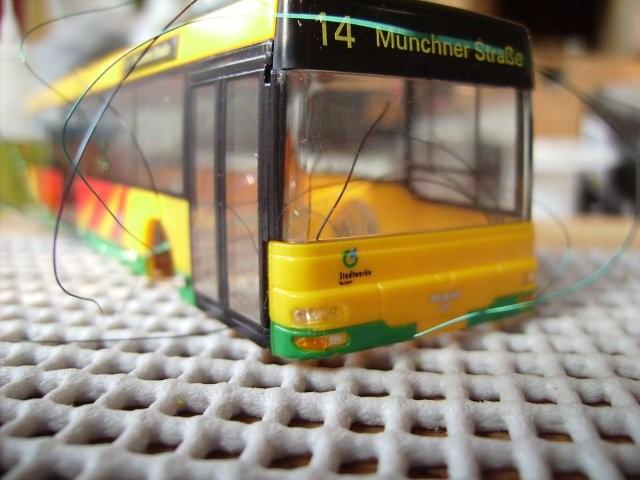
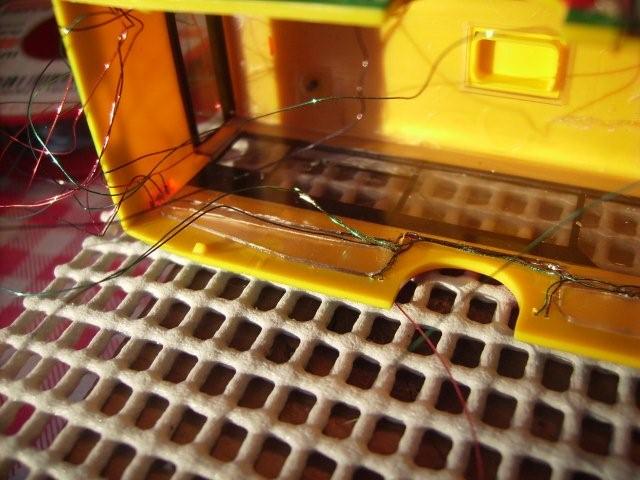
Wires of the side lights are glued to the inside. I tried to make a little channel to prevent them sticking out. This bus will have removable batteries on the inside, it will be disassembled a few times.
The white rubber underground is a rubber underlayment for a carpet. It is to prevent scratches on the bus (and the table). Just be carefull: don’t leave the bus on it too long (more than a week). The rubber damages the delicate paintwork eventually.
Some light for the passengers. Again the warm white LED’s. On the right side you see a collection of SMD resistors. I had to tweak them a few times to get the desired relative light levels.
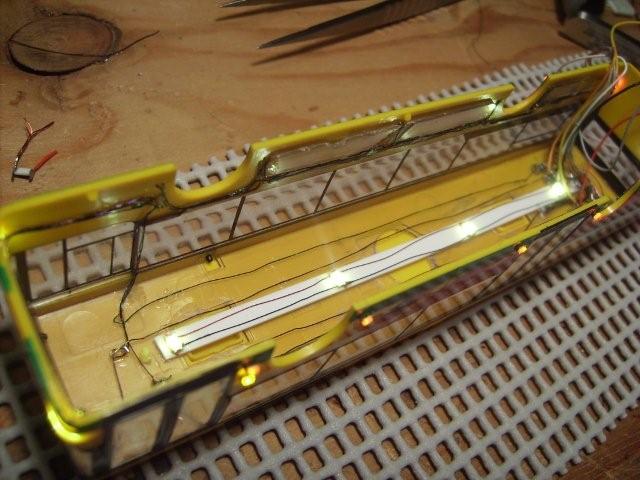
The result
